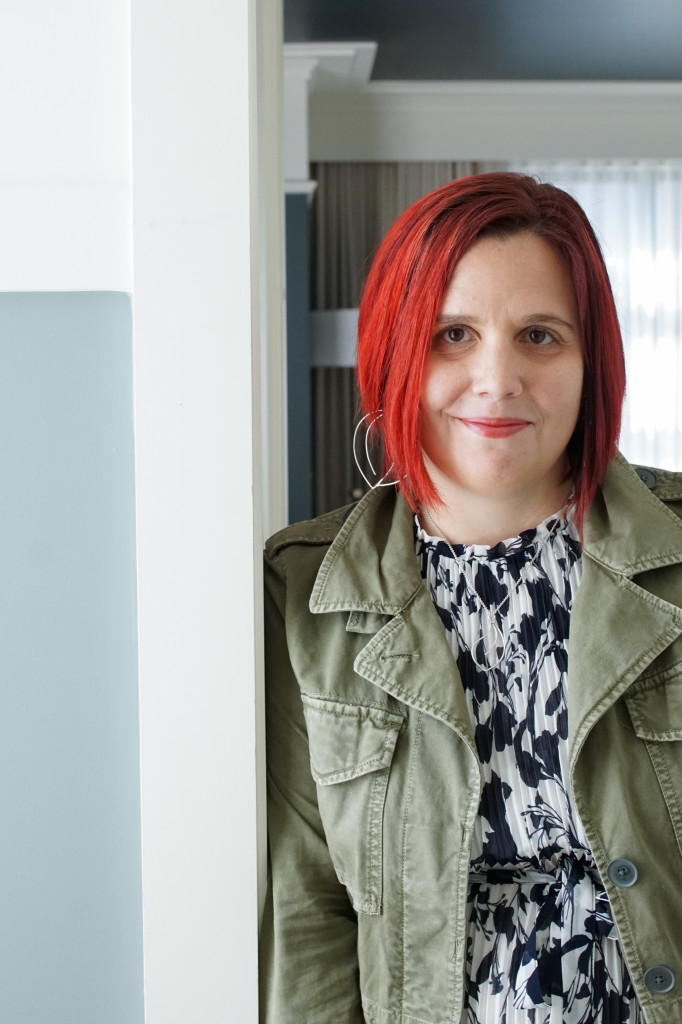
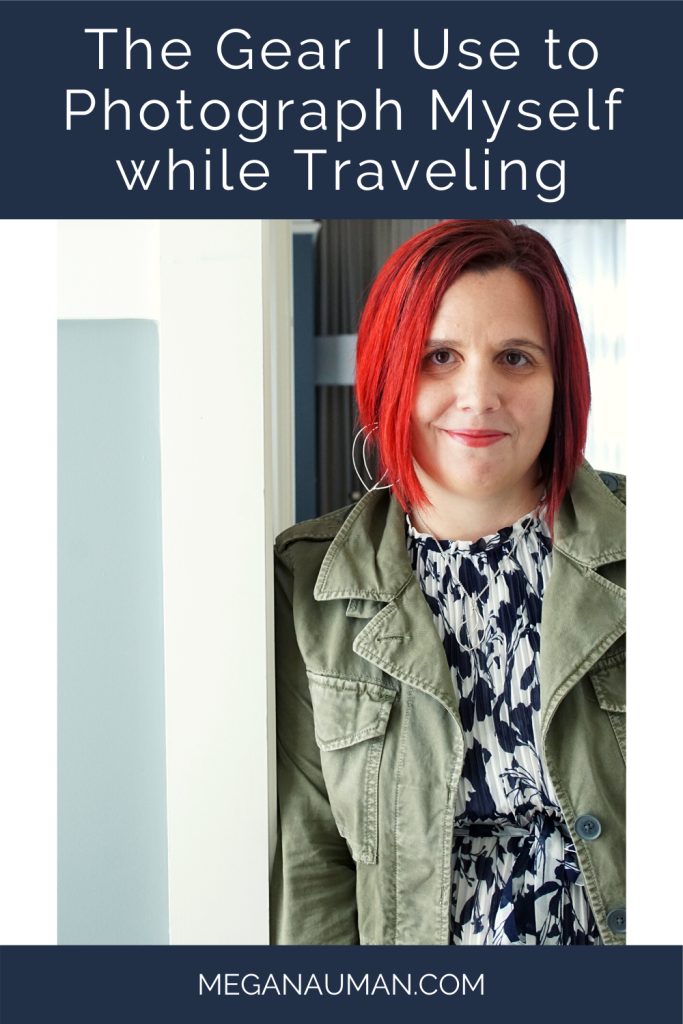
If you’ve spent any time here on my blog, you know that I post a lot of pictures of myself. (No, I’m not a narcissist, it’s just the best way I’ve found to show off my jewelry!) But what you may not realize is that I take all of the pictures of myself, well, myself.
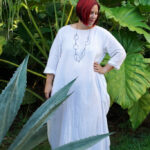
And that includes the pictures I take while traveling. That’s right, those pics I shared from Nevis and Savannah were taken completely solo. No Instagram husband, helpful friend, or professional photographer for me!
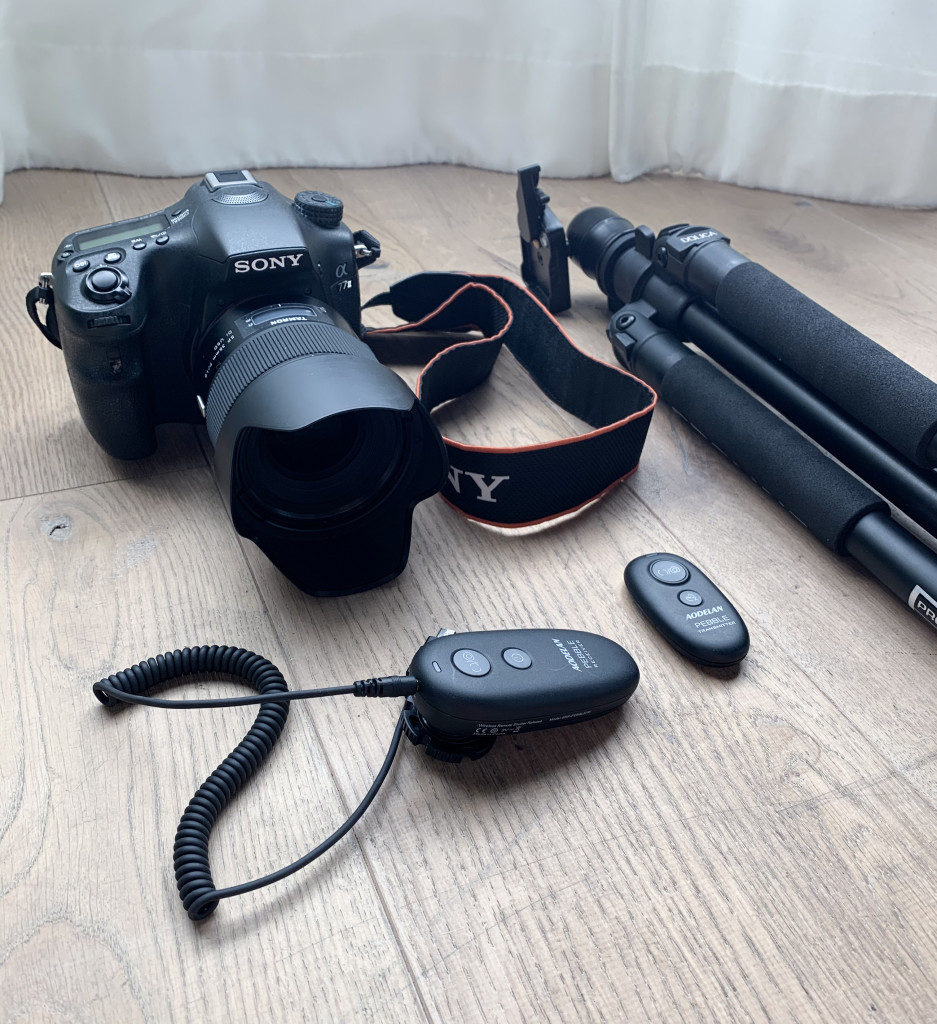
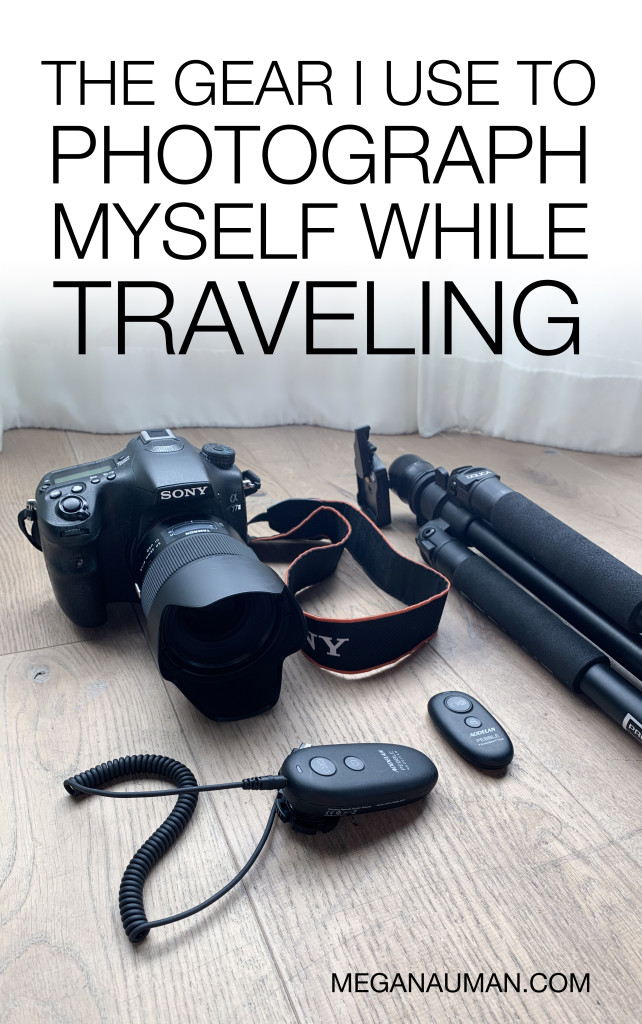
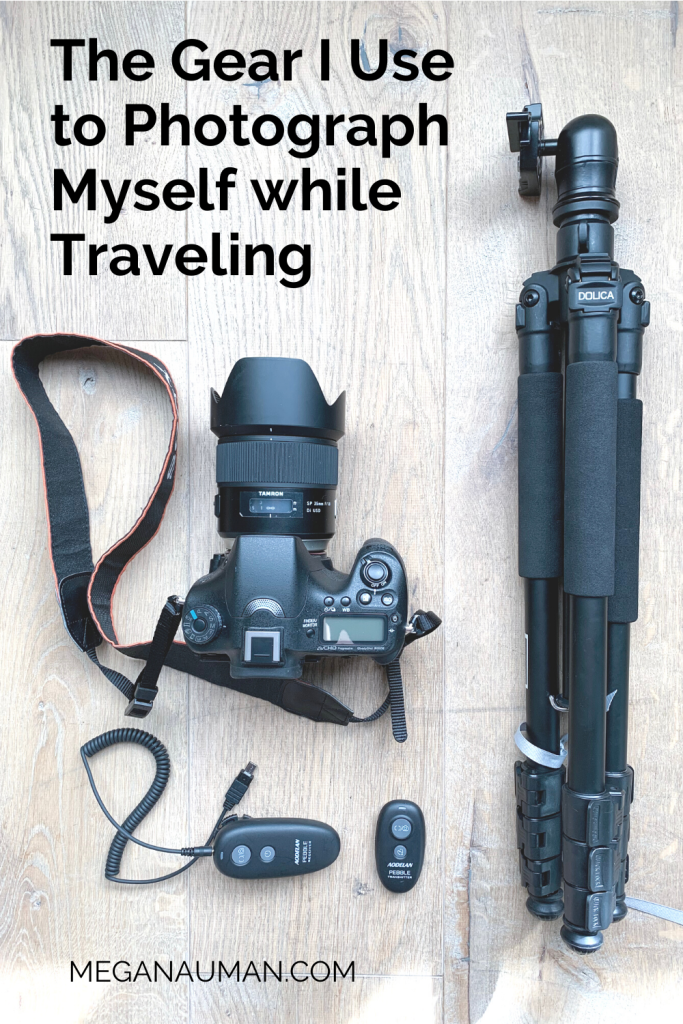
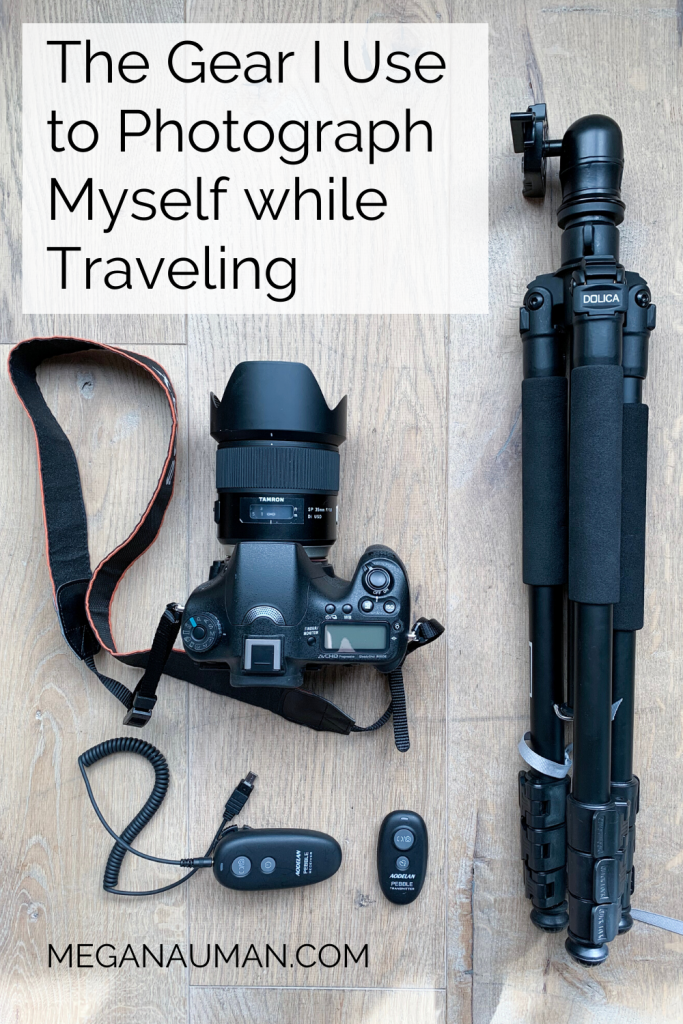
And since you may be wondering how to make that work for yourself (especially if, like me, you do a lot of solo travel, for work or play), I thought I would share the camera gear I bring with me to make it happen.
BTW, this is the same exact gear I use to photograph my jewelry on myself when I’m in my studio, I just add in a pair of these lights.
Note: some of the links in this post are affiliate links and I may get a small commission if you purchase.
The camera:
I use a Sony A77II and while it certainly isn’t the lightest camera on the planet, it’s absolutely my favorite camera to shoot with when it comes to photographing myself, so if weight isn’t really an issue, or I know I’m planning to do a lot of shooting (like in Nevis and Savannah) it’s the one I bring along.
I do also own a Sony a5100 Mirrorless camera and if I’m really trying to keep weight down, that is always an option instead. (And if you’re on a bit more of a budget, I do think this camera is a good way to go for the price.)
I’m not going to debate the merits of particular camera brands or full DSLR vs. mirrorless here (I’m just honestly not that big of a gear head) but I will say the #1 feature you want if you are planning to take a lot of pics of yourself (and that both of these cameras have) is a screen that flips all the way around.
It is 100% easier to take pics of yourself when you can actually see what you’re doing. There are ways to work around not having a lens that flips (which I share in my class Market Your Selfie) but most are pretty annoying for travel. Honestly, if you’re serious about getting shots of yourself, it’s worth trading in your old camera body for a new one with a screen that flips around.
The lens:
Right before my trip to Nevis I splurged and bought this Tamron 35mm F/1.8 lens, and it was well worth it. I’d been eyeing it up after reading an article where someone shared it was the only lens she travelled with, and my Nevis trip seemed like the perfect excuse to give it a try. Since then, it’s been the only lens I’ve traveled with as well. It’s beautiful for portraiture but it has a short focal length (important for jewelry) that makes it almost as functional as a macro. (It’s also available for Cannon and Nikon if you aren’t a Sony user.)
In fact, I love this lens so much that when Tamron released the equivalent version for Sony mirrorless cameras, I went ahead and bought that one too!
The tripod:
When it comes to taking photos of yourself, a tripod is essential. (Otherwise, you’re totally limited to where you can just prop your camera.) I’ve had this Dolica tripod for years, and it’s the one I use in both my studio and while traveling.
It’s not the most lightweight or compact, but it’s incredibly sturdy, which is even more important when you’re shooting with a heavier, more expensive camera. While the rest of my gear goes in my carryon, I do pack my tripod in my checked bag so I have less weight to schlep around in an airport. (Though it would totally fit in a rolling carryon bag if need be.)
The remote:
After a tripod, a remote is the other essential tool for taking photos of yourself. (Because self timers are annoying!) I’ve tested A LOT of remotes, and I can hands down say that this Pebble remote is my favorite. (It works with both my Sonys and you can also get it for Nikon, Cannon, or Olympus.)
What I love about it is that you don’t have to have the remote pointed directly at the receiver in order for it to work, and the remote is small enough that I can tuck it in my hand. (Meaning you don’t see it in pics.) And in a pinch, I’ve even placed it on the floor and hit the shutter button with my toe!
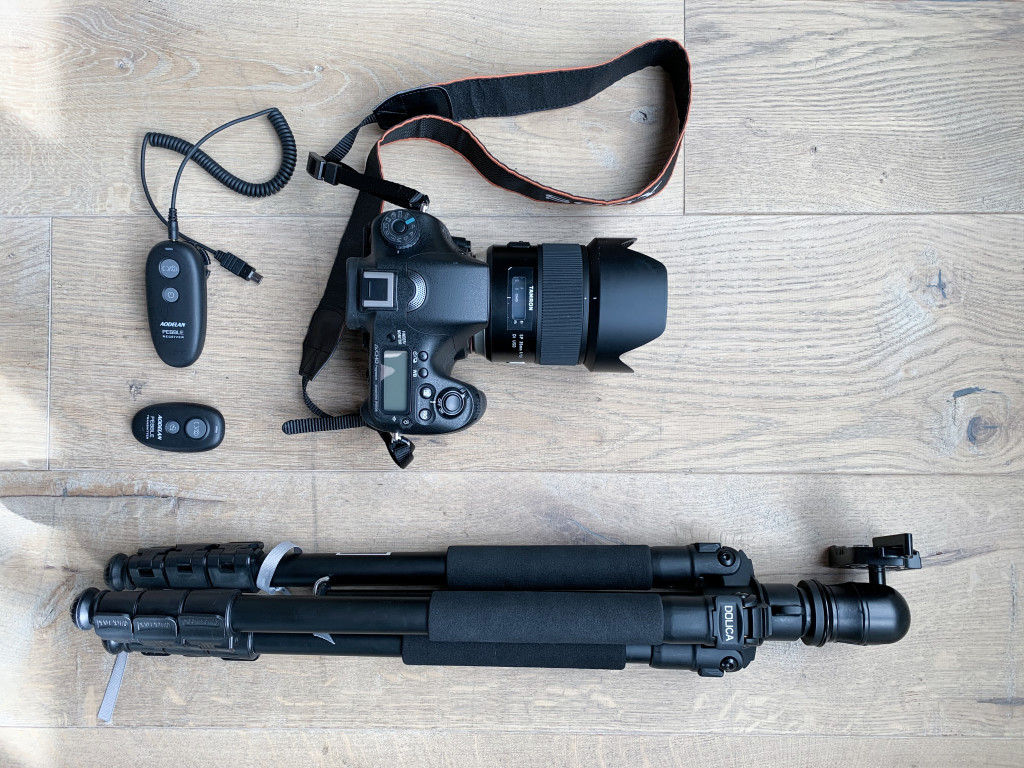
So there you have it, that’s all the gear I bring along when I travel to photograph myself. Rather than opting for lots of gear, I like to focus on a few key things that are going to bring me the best results. And after using them to shoot in a tropical garden in a foreign country (and in a swanky hotel room in Savannah), I can safely say that everything has been thoroughly travel tested.
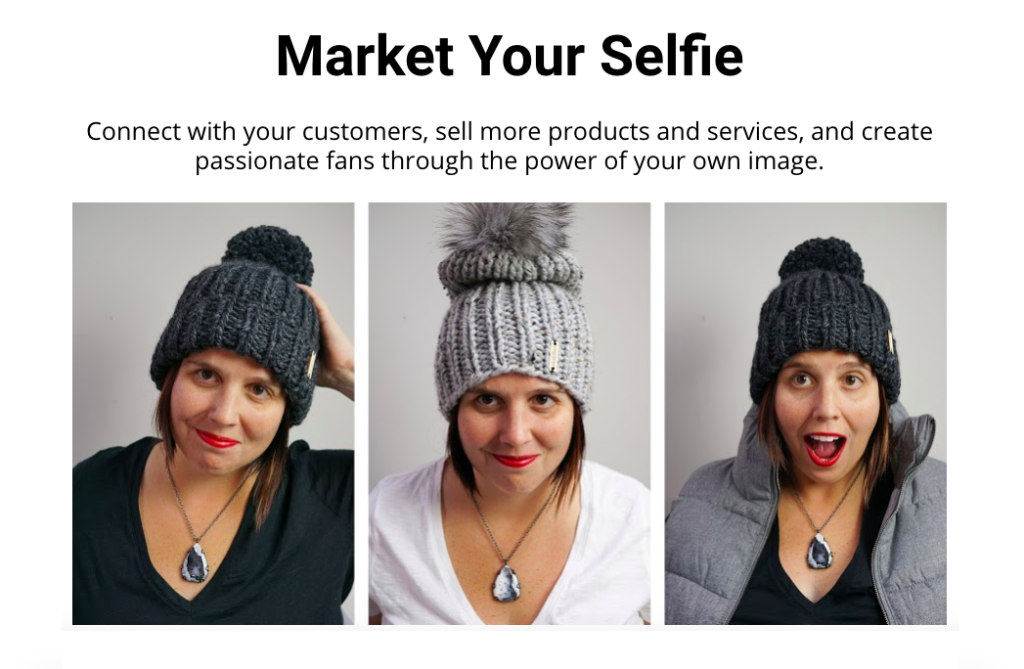
Of course, having good gear is only part of the battle when it comes to taking great pics. (And you can take great pics with less than stellar gear – or even your smart phone!) So if you want to know more about the ins and outs of photographing yourself for your website, blog, social media, or marketing, be sure to check out my online class, Market Your Selfie!

Leave a Reply