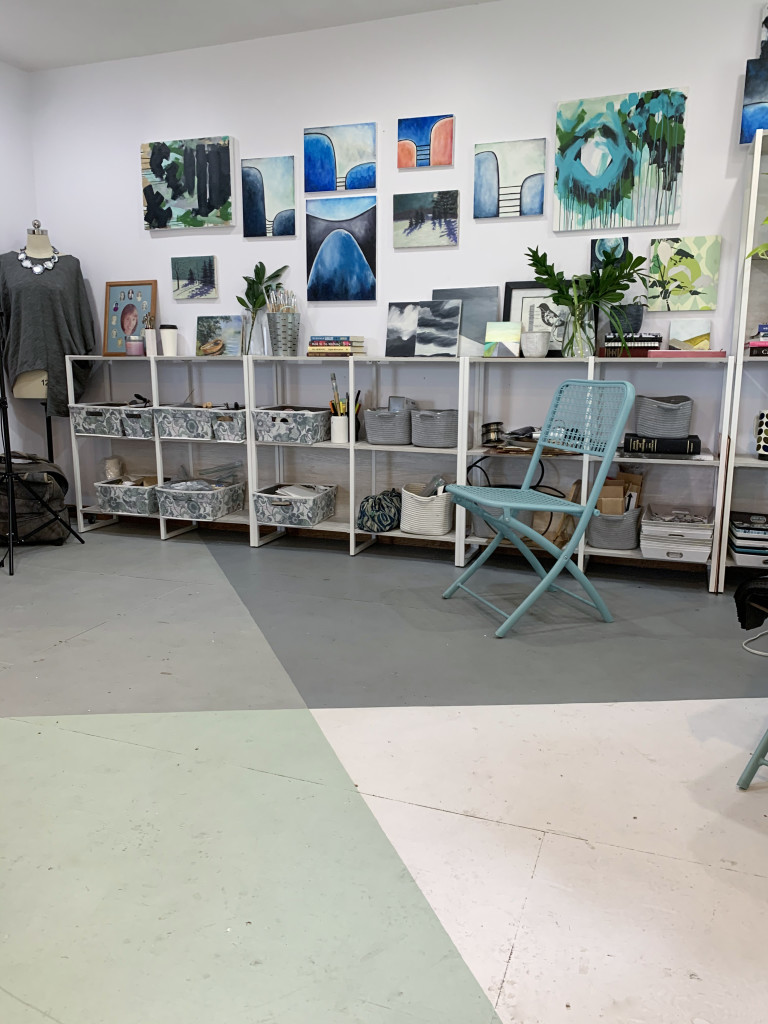
When I shared an update on my studio last week, I mentioned that the space was pretty messy. But I spent a few hours cleaning this past weekend, and after that, I did some rearranging on the far gallery wall.
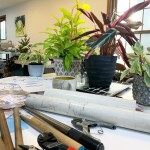
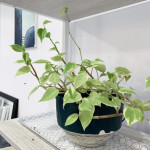
You might remember previous versions of the wall from this post, this post, and this post. It’s the wall I can see as I sit at my work bench, so since it’s in my line of site A LOT, I wanted to make it something I LOVE looking at. That being said, I also didn’t want to rush into the space. I love that a gallery wall can be a living, breathing thing that I’m constantly arranging and playing with. As you’ll see in some of the detail images below, I even added a few more plants from when I took the overall shots to when I took some detail images.
As you can also see, there’s plenty of room in front of this wall. That’s partly to show off the focal point of the painted plywood floor, and partly because the wall to the left of this wall is the backdrop I use for photographing my jewelry on myself, and so I need room to set up my lights and tripod.
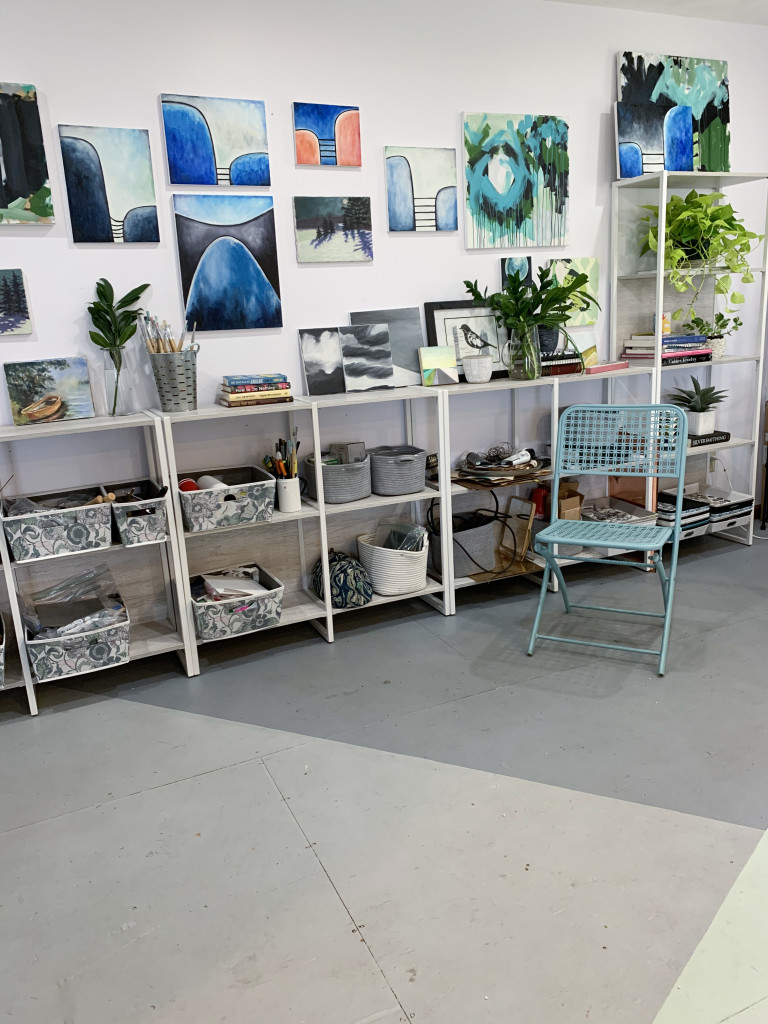
After I took the overall shots, I thought it would be fun to take some details. Settle in, because there are so many vignettes I love on this wall and I’m going to share them ALL!
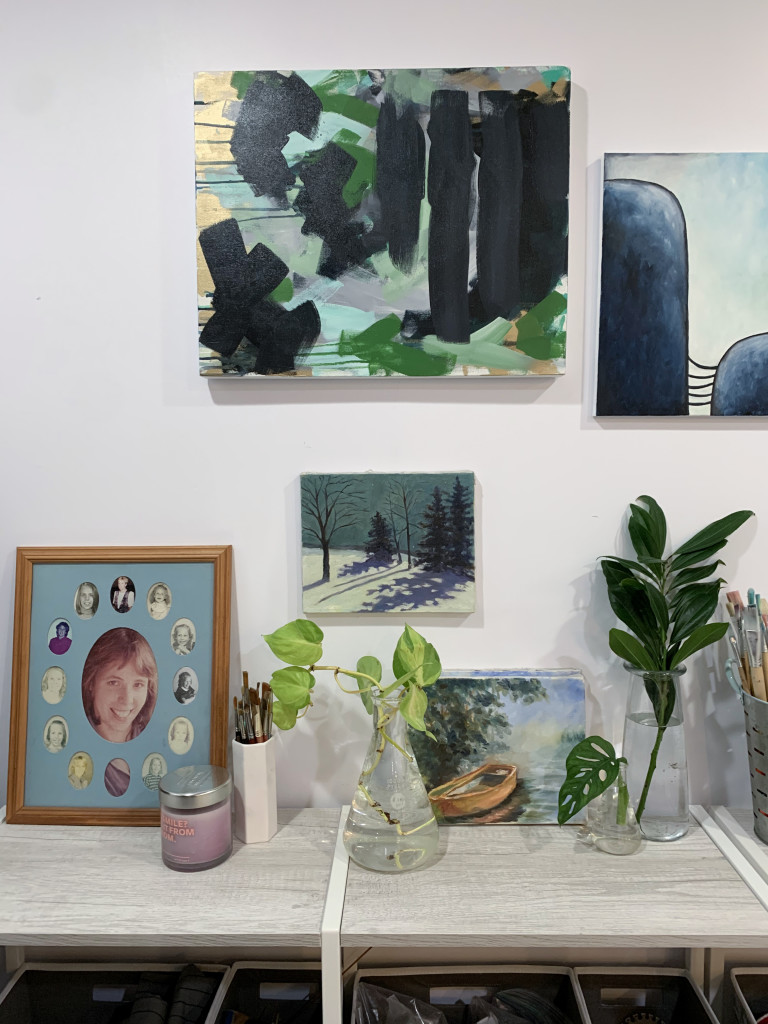
I finally moved my little tribute area to my mom (which features pics of her when she was young and a few of her paintbrushes) up to this studio. I also mixed in some of my mom’s landscapes amongst my own abstract paintings. The Pyrex beakers belonged to my grandfather (my mom’s dad) who was a chemist, and I love that I’m giving them a second life as plant propagaters, because my grandparents were avid gardeners and plant people too. (And it turns out their green thumbs didn’t totally skip me, I just needed some practice!)
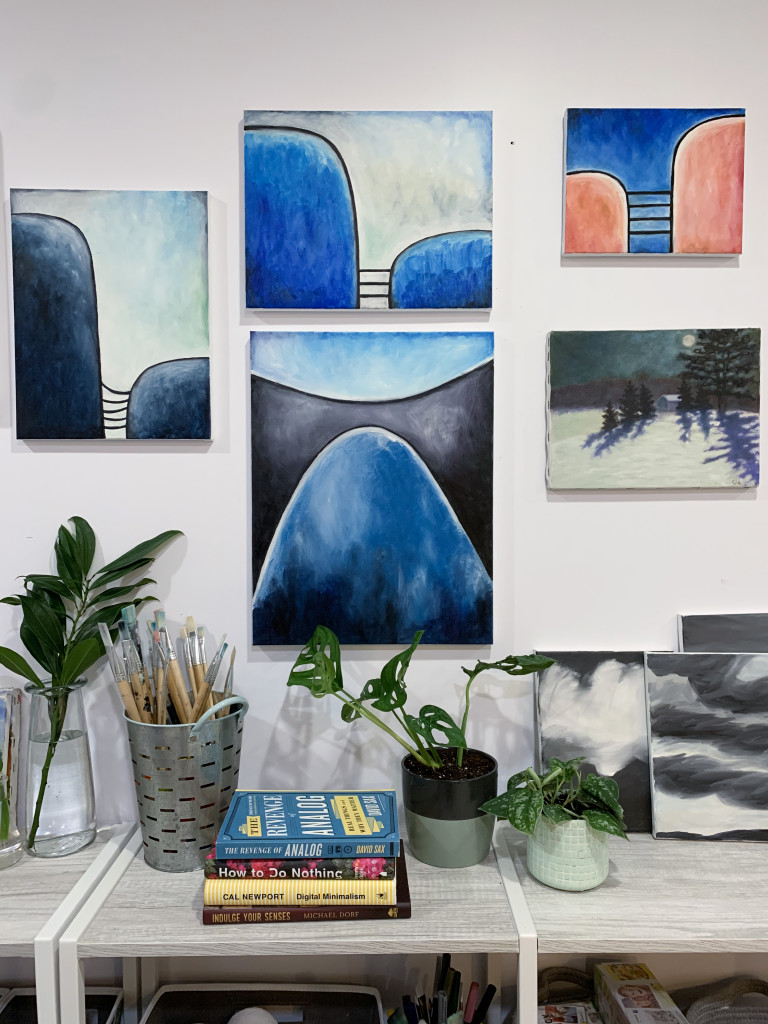
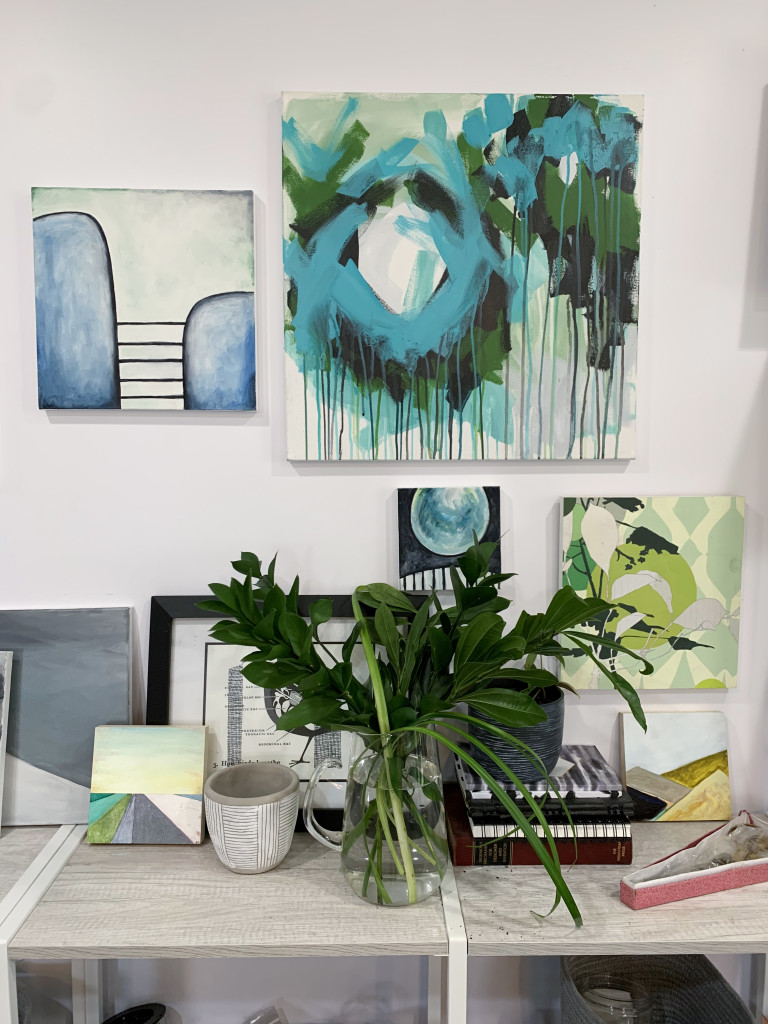
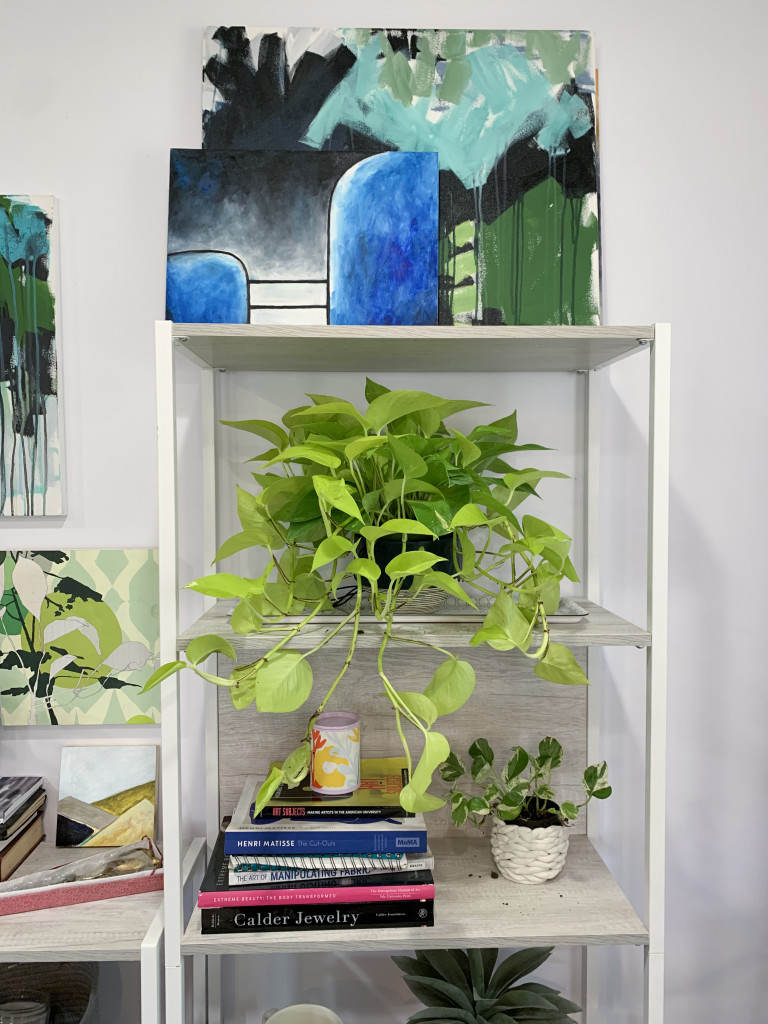
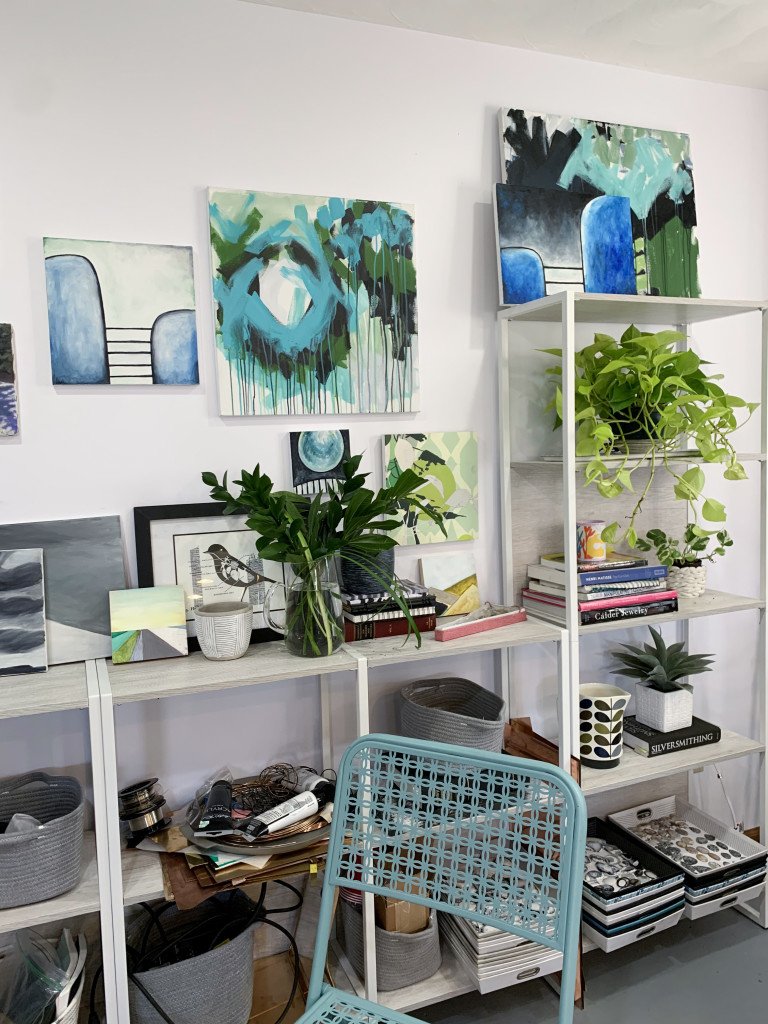
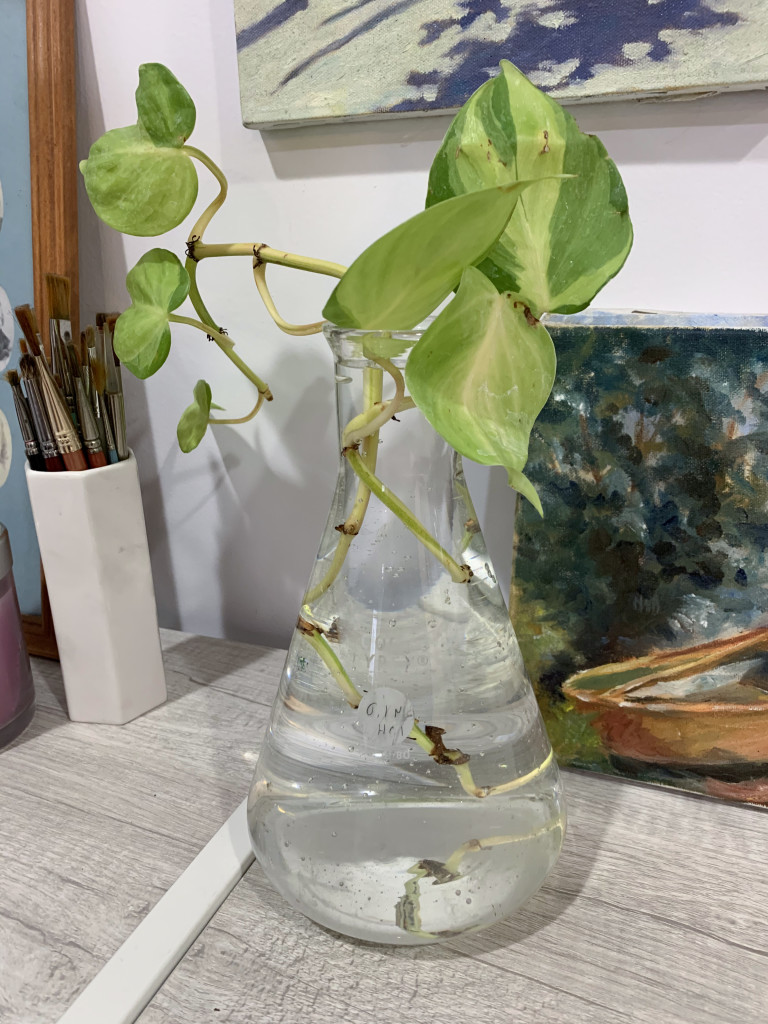
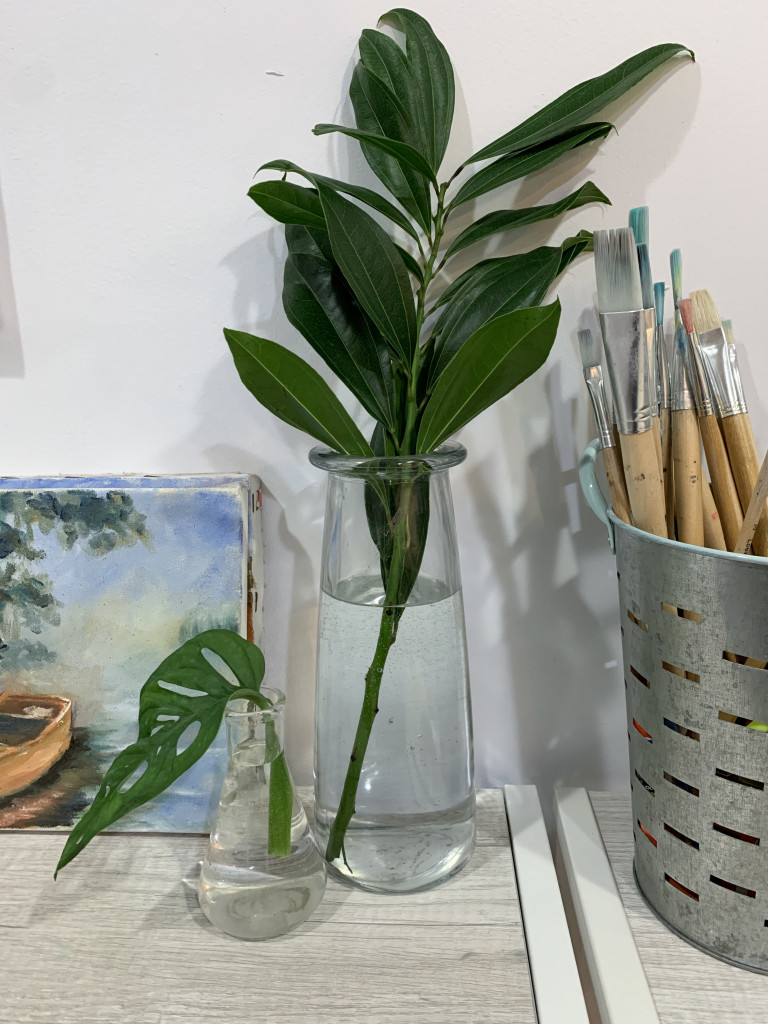
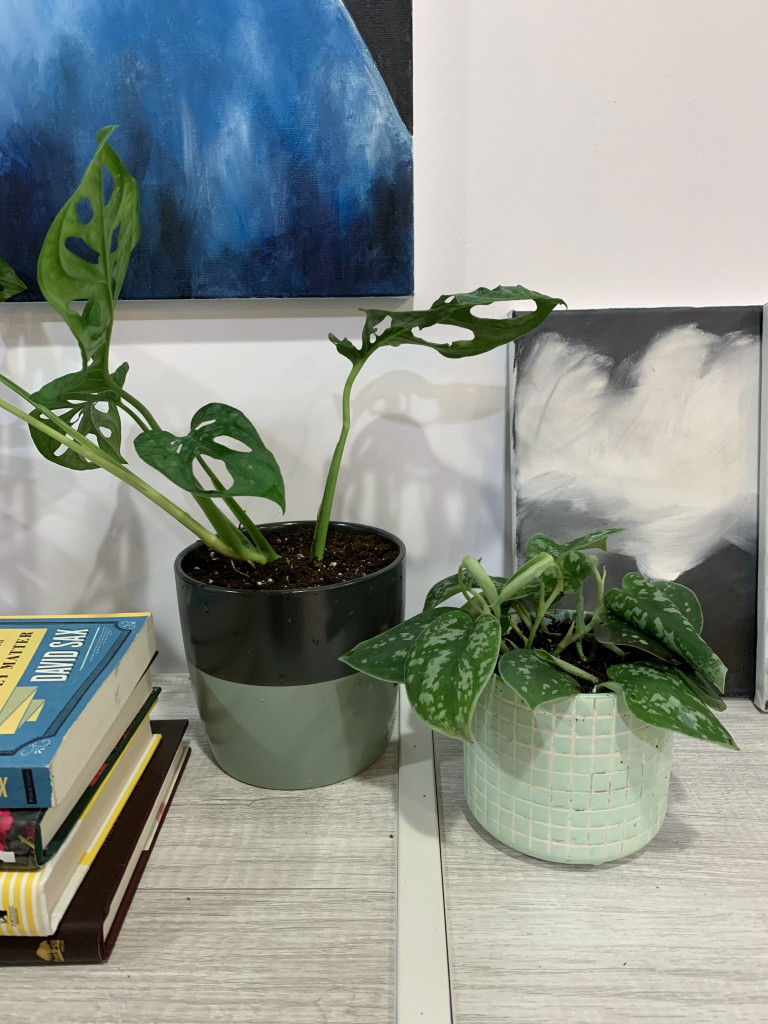
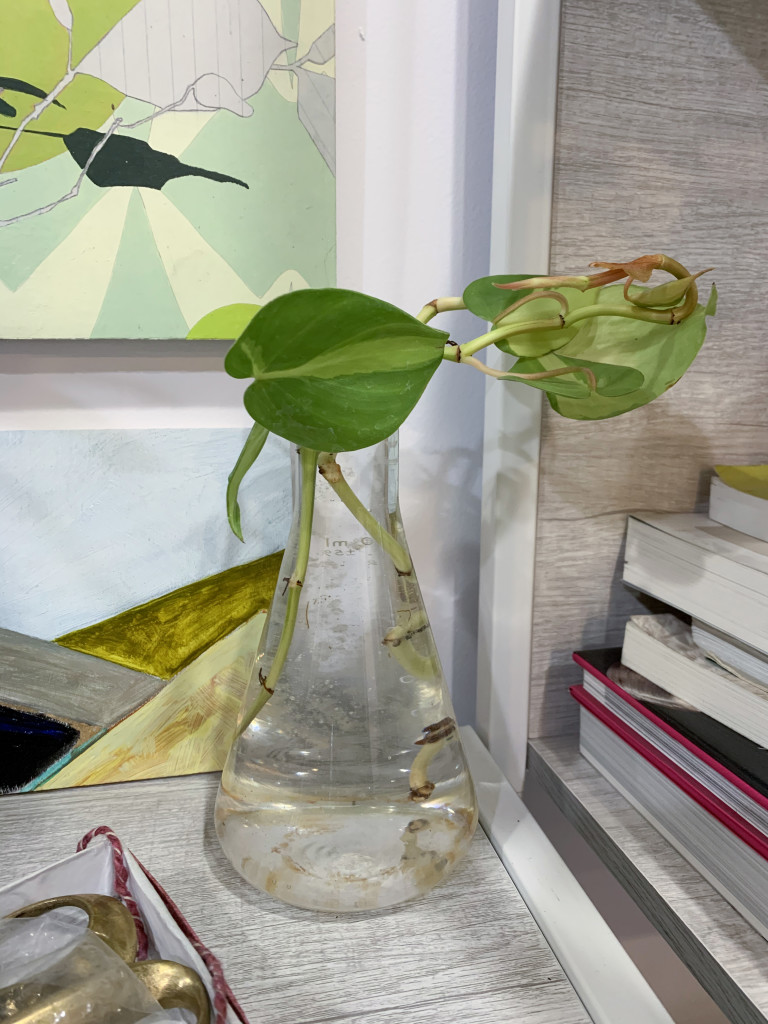
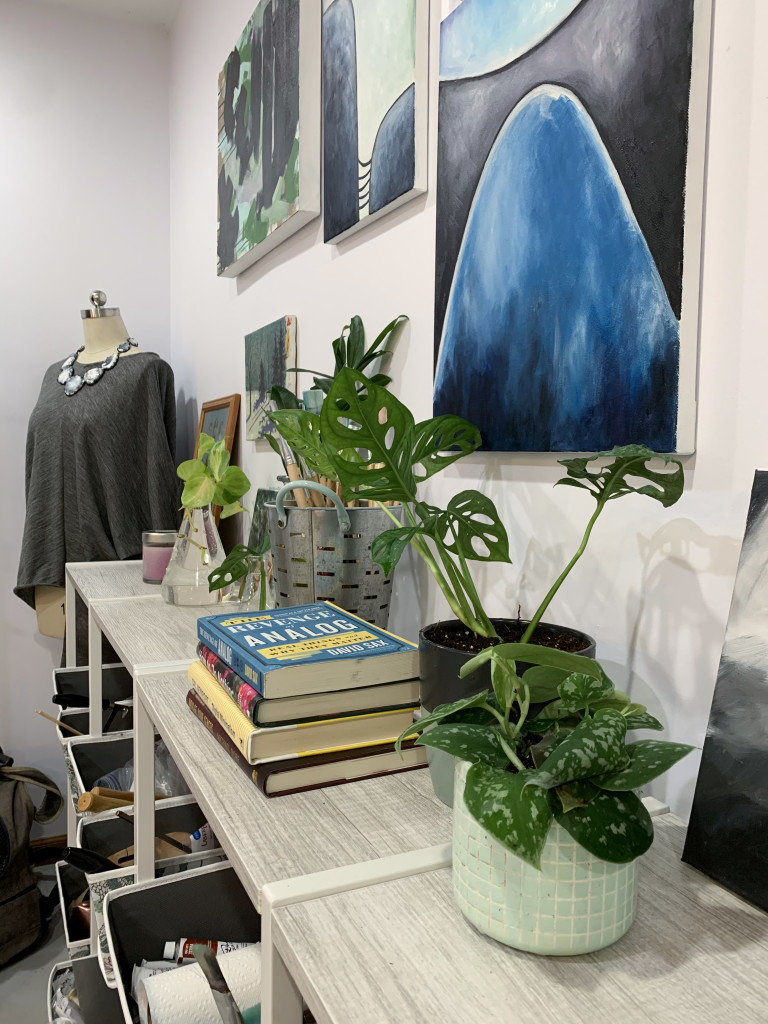
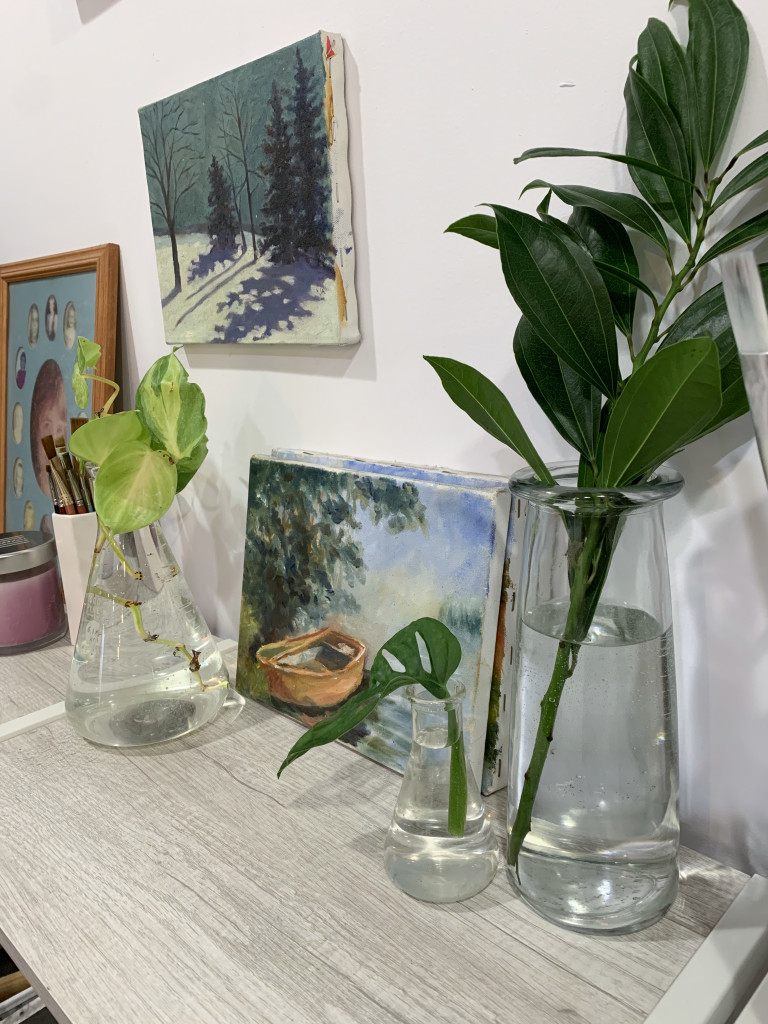
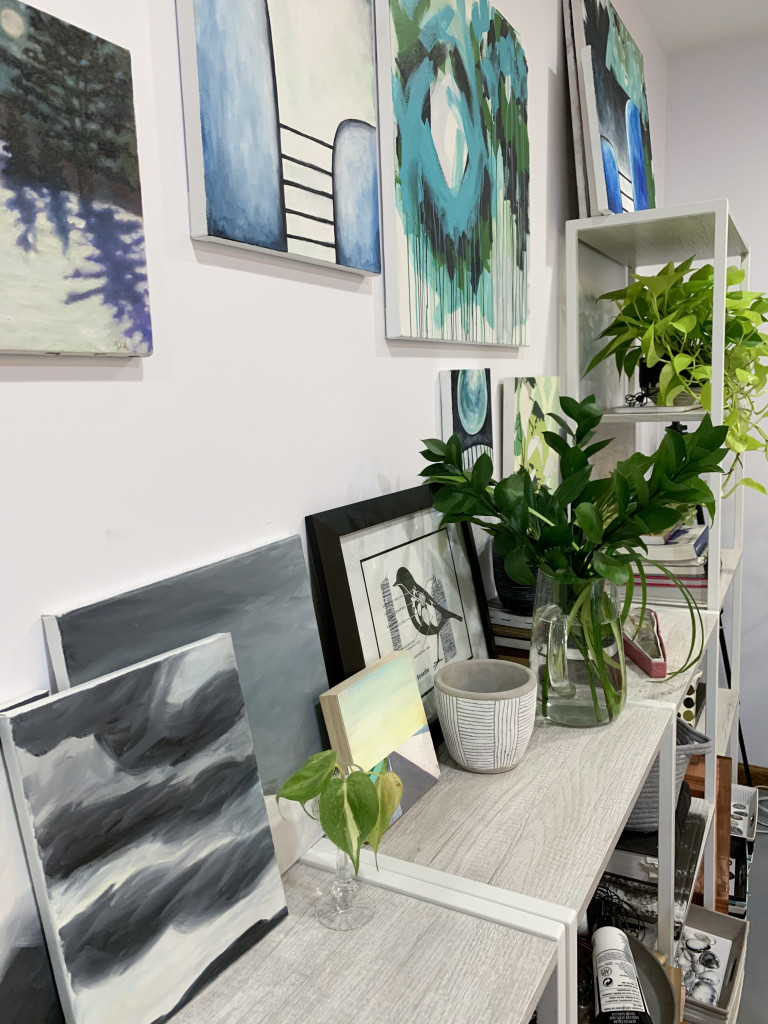
I’m sure this wall will continue to evolve over time, but for now, I’m really happy with where it landed, and I’m happy to have all these pics to document this stage in its development. In case you’re thinking about putting together a gallery wall for yourself, I’ll share that there was zero pre-planning with this wall. I started by putting a few screws in where there were already holes in the wall (left over from an old bulletin board) and then I just filled in the gaps from there.
Even in this version, there was no plan, just lots of swapping in and out paintings to see what works. As you can see, I’m also a fan of propping art on shelves for a more layered look. I think the key here is not to be afraid to add things in. I’m kind of shocked as I look back on previous blog posts how sparse this wall once looked. But now it’s a happy mix of plants, paintings, and books (plus lots of tools and supplies below) and it’s the perfect anchor to that side of my studio!
Leave a Reply